Sunday, June 29, 2008

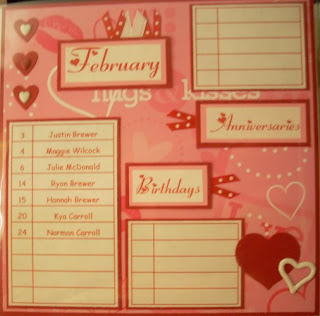
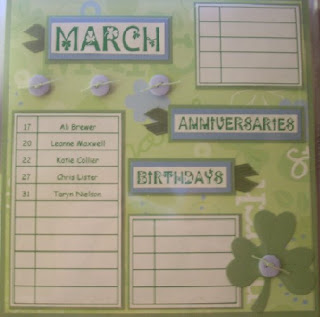
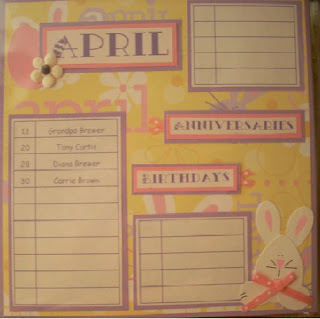
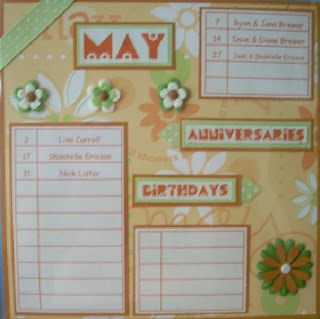
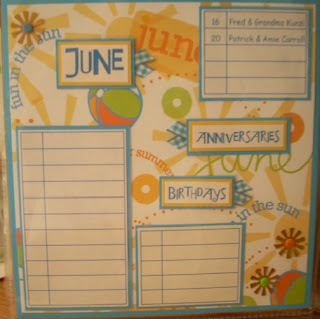
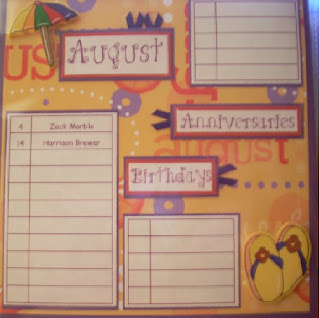
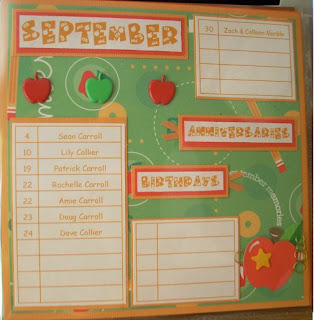
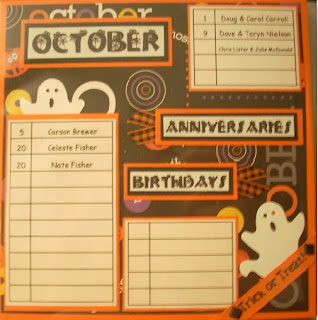
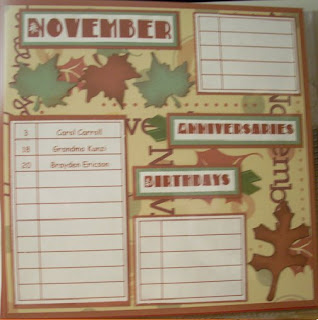
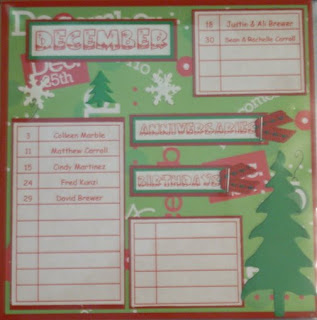
Birthday/Anniversary Reminder Book


Created By: Shantelle Ericson

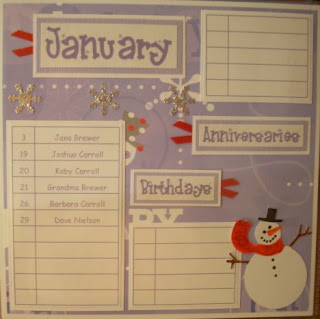
For each page of this book, each page layout was basically the same. Starting with the base, start with one solid 6X6 color. Get a textured or print for the month and cut it slightly smaller than the base. For each label (Month, Anniversaries, Birthday) they are three piece layered. The bottom layer matches the base color, middle letter is an accent and the top piece on white paper and colored lettering. The printed lettering boxes and names are all the same color for each page.

You may also note that each title has a ribbon underneath and they differ in color and design on each page.

each page also has its own accent. The final pages were slipped into 6X6 page protectors and bound with ribbon.

(Shantelle did note that this was a really long time consuming project, she made 12 books..... She said that if she had known that before hand, she would have only done birthdays "because who needs to know anniversaries!"

I think it is amazing!!!
Sunday, June 22, 2008

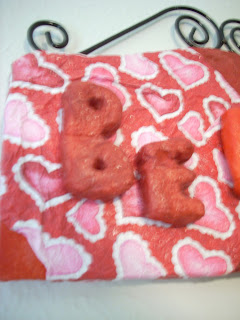
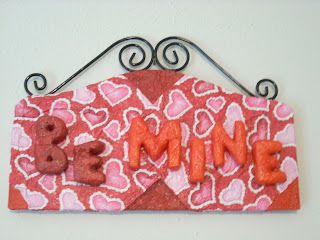
Valentine's Day Door Hanging


Created by: Rachelle Carroll

For my valentines day door hanging, I started with a wooden board that already had the wire hanging on it. I bought this at Walmart.

For the background I took 2 sheets of 4x4 scrapbook paper and 2 sheets 2x4 of crete paper ( I bought the crete paper in a bag that had a lot of different colors in it). I took a water bottle and filled with water and sprayed each piece. I then scrunched the paper into a ball. I sprayed the paper just enough for it to be able to be crumpled and not rip. I carefully unwrapped the paper and laid it but don't smooth out the wrinkles. I set these aside to dry.

For the letters, I took regular styrofoam and using an exacto knife I carved out each letter. This sound difficult but it really wasn't that bad. You can also buy wooden letters and do the same thing. Ok so with each letter I took more of the crete paper and slightly wetted it and wrapped around each letter. Some of of the letters like "e" I had to use strips to cover the whole area. You can also paint them if you don't want to cover with paper. I set this aside to dry as well.

Back to the background, I took modge podge and covered the entire front surface of the board. I took the two pieces of crate paper and put them in position first. lightly place on board because you want them to retain their wave. Next I took the regular pieces and placed them. I let this dry. Next I modge podged the sides down and finally secured the back. Modge podge is great! Last step for the background is I painted modge podge on the whole front and sides to give it a glossy finish.

For the letters, I modge podged each letter and attached with some gorilla glue (gorilla glue is probably the strongest glue I've ever used but it expands as it drys and has a brownish yellowish color to it so I wouldn't suggest ever using it if it is going to be seen. If you used wooden letters you could use a hot glue gun but with the styrofoam I was afraid it would melt it.

Monday, June 9, 2008

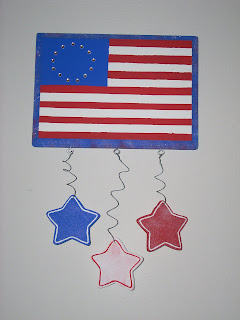
Forth of July Door Sign


Created By: Rachelle Carroll

For my forth of July sign I got all my supplies from Walmart!! I started with a pre cut peice of wood found in the craft section. I started by tracing out the flag for the star section and the stripes. To get more consistent lines I used painter tape to create the lines. I painted the red and white lines first, that way if I went over the edge I could cover it with the darker color. After this was dry (i had to do two coats of each color, which is best to do if each layer is dry before the next layer)

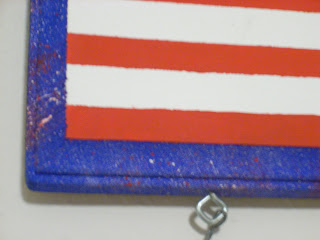
Next I painted the blue star box and the entire edge blue. Also for the edge I took a tooth brush and spotted the sides with red and blue paint. If you've never done that before put a small amount of paint on the toothbrush and then run your thumb over the brissles and it will flick off the paint.

Next I took three wood stars (bought in a pack from Walmart) and painted each a base color. I then used the toothbrush again to fleck white paint on the blue and white star and red paint on the white star. To finish the star I drew a line by hand just in from the edge.

For the stars on the flag I used craft rhinestones. I used the cheap plastic ones that came in a pack of 25 for $2 max. I used a pencil first to mark each location and then I used nail glue (super glue) to attach using tweezers. I did the 13 star circle because 50 looked way to cluttered.

To attach the stars I screwed in three small eyelet screws. I used a thick craft wire to attach the stars. To get them to form the curves I first wrapped the wires around a chapstick and let them naturally separate. The wire holds really well and can easily be molded back in to place each year.

Sunday, June 8, 2008

Sea Shell Chess Board


Created By: Rachelle Carroll

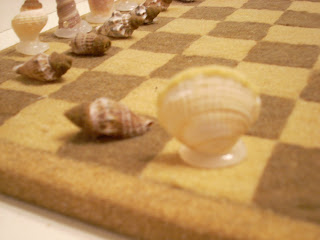
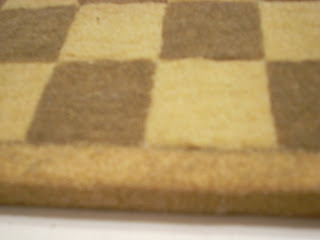
I started with a square piece of particle board and drew out the chess board leaving a half inch border. I used a dark brown sand and a light yellowish sand color that I got at hobby lobby. I first started with the dark color. Using a paint brush I painted modge podge on every other square where the dark sand was going to go. I poured sand over the entire board and used a book to firmly push the sand in to place. Next, I modge podged the open squares and used the light colored sand. I let the entire thing dry for 30 minutes and repeated. I Put three layers on.

The reason I used the modge podge was that it dried clear so there didn't seem to be any residue.

For the edge, I combined some dark and some light sand in a plastic bag and mixed it. I did two coats of this to cover the border and edges.

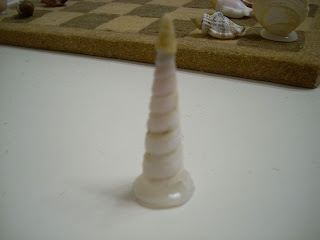
For the game pieces, i collect sea shells so I had a lot already but most craft stores sell them. I made sure each type of piece matched for the two sides. After I had all the pieces figured out, I took my hot glue gun and created bases for all the pieces (with the exception of the pawns, they laid flat). This was the only thing I could think of and it wasn't the easiest way especially for the bigger pieces, but it worked.

For the last step, I took each piece and dipped the tip in modge podge and then dipped in the sand to mark the dark side vs the light side.

I am still looking for little sea horses to be the knights so for right now we use coins when we play.

Wednesday, June 4, 2008

Baby Sock Corsage


Created By: Rachelle Carroll

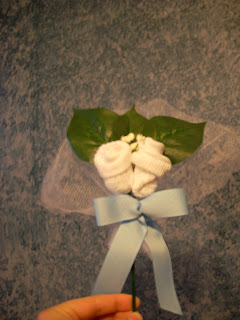
The Relief Society in my ward asked me to come up with an inexpensive gift idea for the new arrivals in the ward. (Within the next 3 months, there will be 16 births in the ward). This is the baby sock corsage.

All my supplies were purchased in the Walmart craft section. I got Green flower sticks which came with wire already attached to the top. The took three leaves and wrapped the wire to hold them in place. I then took a little white baby breath (leaves and baby breath plastic) and using flower tape wrapped the top of the stick holding the leaves and baby breath firmly in place.

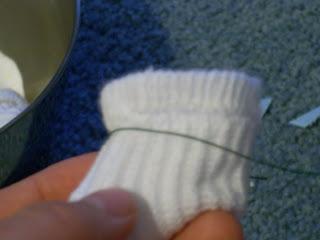
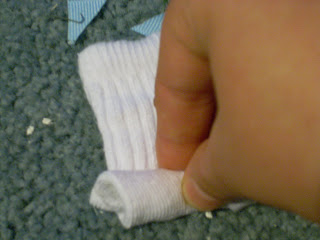
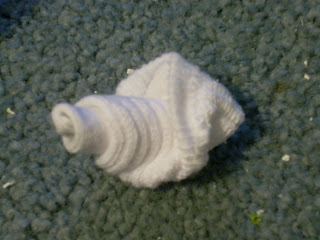
Next I took a pair of infant 0-6 socks (girls and boys, I got a pack of 10 for $12) and rolled the sock to look like a flower bud. (For the boys socks I could only find white socks, but the girls was a pack with half color, some plain white and a couple with lace on it.) You do this by starting to roll the sock at the toe slightly diagonal. About 3/4 of the way of rolling, you take the opening of the sock and flip it around the rolled part to secure.

Next I took green flower wire and wrapped around the bud, flipping the edge of the sock over to cover the wire and secured each flower with the wire to one of the leaves.

I took colored ribbon and using wire, made bows able to be attached.

The last step, I took petti coat netting ($1 a yard) folded like a fan and held to the back of stick. Using the bow with the wire, attached the bow and the netting at the same time.

Overall I made 20 corsages for under $40.

Sunday, June 1, 2008

Dr Pepper Sign


Created by Rachelle Carroll

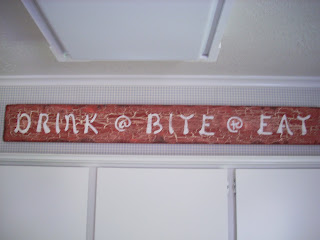
My Dr Pepper sign steals the "Love - hope - charity" signs that you see and uses the phrase "Drink a Bite to Eat" which is an old Dr pepper slogan.

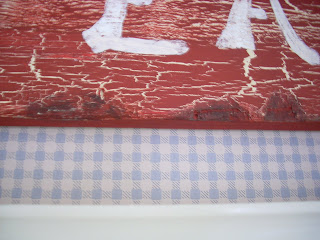
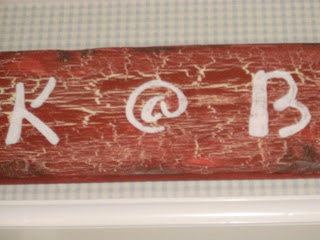
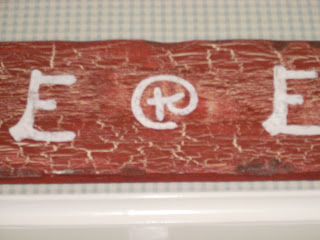
First I started with a piece of particle board. I took an exacto knife to the edges to create grooves to increase the older look I was going for. I also took sand paper to the grooves to dull the sharp edges. I then painted the board with a cream toll paint. I found crackle paint at walmart which creates a great effect. Basically you paint a layer of the crackle paint over the base color and let it dry abot 30 minutes. Then you take your top color and paint over it and it cracks. It works great!!

I let this all dry for about two hours before doing the letters. I actually used stencils I found at walmart. I lightly outlined the letters into place, and then using the cream toll paint I started painting the letters. I painted the letters really lightly with the brush, allowing the cracked areas on the board to not be touched with the paint so the letters looked just as cracked.

Finally, I took thinned black toll paint (watered the paint down alittle) and lightly brushed the edges to increase in the worn look.

Dr Pepper Clock


Created by: Sean and Rachelle Carroll
For this clock, Sean and I took Dublin Dr Pepper soda cans and cut the cans into one inch squares.
Sean got a piece of plywood and cut it to the specified square that we wanted and painted it black. The actual clock pieces we found at walmart, it was clock we bought and took apart but you can buy clock pieces at lots of craft stores. We fitted the clock part on first, then set them aside.

Square by square we used really small black nails that we got at Home depot to tack the can squares on the board, leaving very small gaps between. This took a really long time, but was worth it!! After each piece was on, we put the clock pieces on it and hung it on the wall.

If you have a finish nailer it can be done alot quicker, but we didn't think of that till the project was done!